In the previous issue of Catersource, I discussed the planning phase: questions to ask, answer, and address about setting the dining area before going on site.
Part two discusses the mise en place of getting organized upon arrival—the tasks and specific order of activities that should occur before staff places anything on the tables. Mise en place as you may know, is French for “putting into place.” Mise en place is not limited to professional kitchens!
The information presented here is scalable. If you are setting for 12, 120, or 1,200 the process is the same—with one exception. When setting 500-plus covers, divide the dining area into several manageable zones. If you are inclined, challenge your seasoned zone setting teams for speed with a reward for the team that completes the setting first. Of course, points are deducted for errors.
Not everything listed here or on the checklist is required for every setting. If something is not needed, skip it and move on.
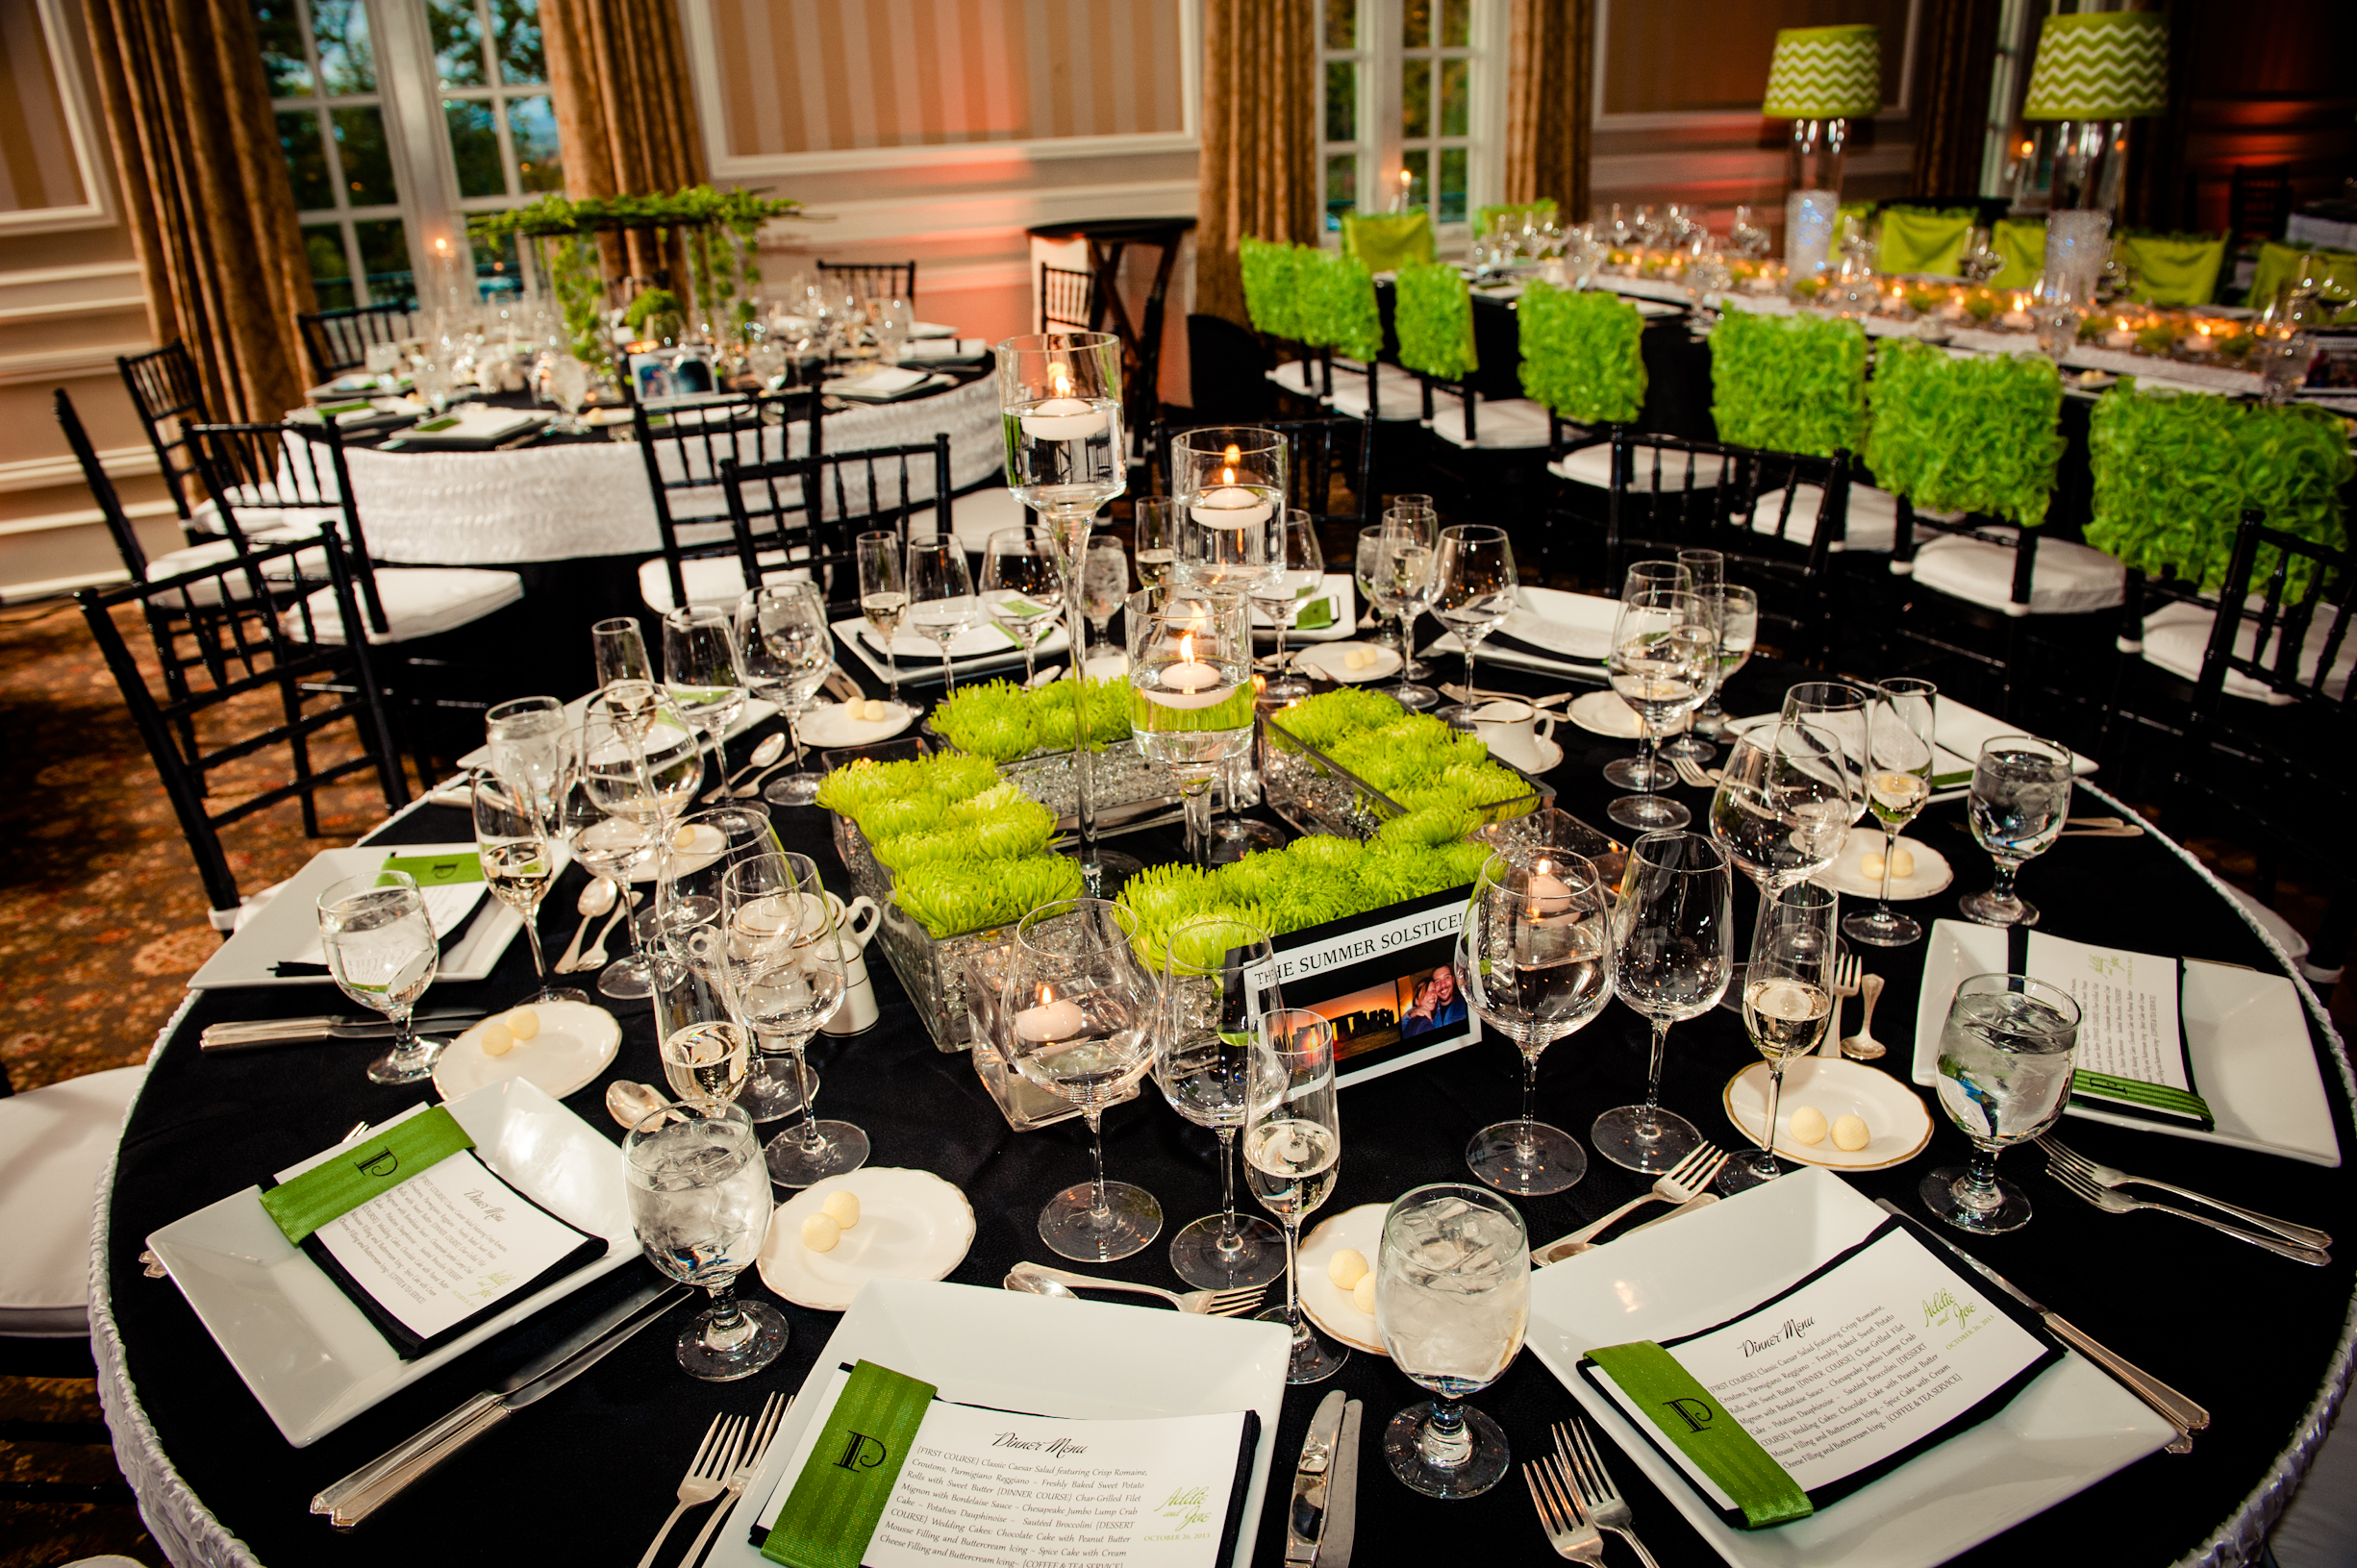
Photo courtesy of JDK Group
Event captain-lead reconnaissance
On large or complex events, send the event documents digitally to the event captain-lead and pay them for one hour to review the documents. This will allow your lead to ask questions, make plans, and get organized. It’s also a good investment for you to have a second set of eyes on the paperwork, pre-event.
Discipline
Success and perfection often is defined as doing ordinary tasks in an extraordinary way. Often you hear from staff, “Table setting is not rocket science.” However, if we approach setting tables with similar dedication and passion, the setting process and presentation will inevitably elevate the event.
Here’s the thing: when your team is actively setting tables and you avoid interruptions, they will stay focused and soon will be setting 400 covers in less than an hour.
Incremental lift
Everyone is looking for big time savers. As recovering a catalog direct marketer, I learned to strive for incremental lifts. In marketing, a one to two percent increase in response or sales means a lot of money.
The same idea applies here. Look for small adjustments to improve the setting process technique. Remember: All boats rise with the tide.
Simple ideas that shave seconds result in saved minutes. Saved minutes quickly turn into an hour. How much is an hour of time worth?
Getting organized
If you need a refresher on getting various aspects of the table setting organized, refer to the November/December 2015 issue of Catersource or go online to tinyurl.com/phzzz7z to review my checklist for pointers. Next, gather documents prepared during the planning stage and review them. These documents might include:
• BEO (Banquet Event Order)
• Menu
• Dining area layout drawing
• Place setting drawing, sketch, or photo
• Table service order: Check location of VIPs, handicapped, children, seniors, and dietary restrictive guests
• Packing list indicating what was ordered and delivered to the site
• Rental orders: What is supplied?
• Look for substitution notes so you know what may be different from what was ordered
• Event time schedule: Is a toast before or during service? This determines the flute placement
• Pocket knife/wine opener to open packages
• Polishing cloth for touching up glass, stemware, and flatware
Next, meet the coordinator and/or planner. Check for last guest counts, seating changes, and other minor adjustments. Asking about this before setting reduces the need to reset tables due to last minute adjustments.
Base camp—aka “work from” area
Set up space as a “work from” area. For example, use the dance floor in the center or a spot close to the service area. Designate the work from area and start collecting the table setting components there.
Pre-set
The work from area needs to be designated before arrival, so the rental company knows where to specifically deliver supplies. Send them a copy of the layout and add, “See drawing for supplies drop-off location” to notes of the rental order.
Otherwise the rental company will drop the supplies in the kitchen area or the parking and you have to move them. If you have five staff people on site moving the rentals into the proper position for half an hour you have lost time and wasted money.
Orientation of the dining area and tables
Find north. Designate this on your layout if not already indicated. Show it to the table setting team. Picture each table as a clock, with 12 at the top (north), and six in the south. Then you can say, Table 7 at 2:00 needs a fork. Your place-setter will be able to walk instantly to the correct spot at the table versus circling it to look for the open slot.
Which table first?
There is an orderly process for setting tables based on the client-planners-designers vision along with etiquette, history, and an efficient table setting process.
Your inclination may be to start with the table closest to your “work from” area. Exponential theory in mathematics applies here, however, because starting further away actually decreases the number of steps needed to set tables. There are a few exceptions to this; you figure them out with experience.
There is also an order for which table is set first and second, etc. The reason is that as challenges appear, you deal with it on the first table, which serves as the “example table.” If by chance something needed for the setting is missing, it should happen on a table close to the service area.
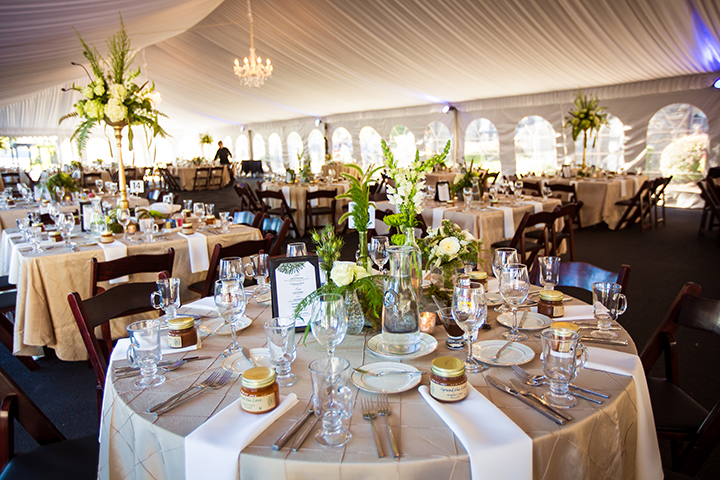
Photo courtesy of JDK Group
Order of setting
Indicate the order (1,2,3) of setting each table on the layout drawing. Start with the table furthest away. Follow a logical order, ending close to the work from area. On large, complicated, or elaborate table settings—begin close to the work from area. Use the first table as the “example table” where you negotiate for position, space, and approval. Then go deep into the room working your way back to the work from area. All tables are set in the same order.
Team meeting
Meet the table setting team. Introduce the members to each other. Explain:
• Designation of north
• Table setting order
• Any special notes
• Call out items that need correction
• Request support for good work in order to help each other
When an assigned task has been completed, notify the team leader.
Tip: When you have performed this meeting and table setting process a few times, the whole set up activity can be delegated to a capable leading member of the team.
Trashcan
The trashcan is the very first item to place when setting a dining area. You need a place for all of the packing debris, florist cuttings, and vendor trash. Usually trash is left all over the dining area and then time is wasted because staff has to walk around and pick it all up.
Tip: Save boxes, bubble wrap, and foam if you need to bring items back to the office after the event. See disposition notes at the end of the night on the checklist.
Worktable
Set up one or preferably two six- to eight-foot folding banquet tables. Clean the surface, or cover with a clean linen or plastic table cover. The linen or cover reduces scratching and is more hygienic—you never know what the tables were used for last time.
This worktable makes it easier to get organized, keeps everything clean, and you also don’t have to bend over to pick up items on the ground. Place your drawings, packing list, check sheets, notes on the table.
Obtain and designate a six-foot table for the florist and or designer to use. Why? Because they want to use the dining tables we’re trying to set as their worktables. The tables get wet and messy, and can’t be set. It’s also a good way to make friends.
Gather
Review packing and rental lists and gather all the supplies and components needed for setting the dining area at the “work from” area. If planned properly, the rental company or set up staff has already placed all items for the table setting in the specified work from area.
If items need to be unloaded from vehicles, get them. Do not start setting tables until all the supplies have arrived, have been inspected, and are organized. Knowing about shortages before setting gives you time to make adjustments or call for replacements.
Organize
Organize the items in the same order as you are going to be using them, from left to right with the first items on the left. Move in one direction, so the next item is logical for placement. Open all containers, remove lids, packaging, and plastic wrap-bags, so you are able to grab and go.
Inspect what you expect
• Match the packing list and rental orders against actual on site counts
• Look for substitutions, shortages, damage, chips, scratches, and abrasions
• Check for the correct style of flatware, water goblets, wine glasses, and champagne flutes
• Are the quantities ordered correct?
• Is everything clean? Free of lipstick? Are there water spots? Is the flatware tarnished or rusty?
I am not suggesting that every glass and fork be inspected before it goes on the table. A closer review is accomplished during the actual setting.
Tip: Label the packing containers from the rental companies with blue tape and record what was in the container.
Stubborn water spots
A lint-free damp cloth followed by a dry polishing cloth removes water spots. Sometimes you need to get aggressive and use steam from a boiling pot of distilled water, followed by buffing with a dry polishing cloth.
Glasses with lipstick residue need to be washed with soap and water, and then rinsed and dried before setting.
If the warehouse or rental company is supplying you with dirty glassware, flatware, or plates you need to have a firm talk with them, get credit for cleaning, or find another supplier.
Positioning tables
If tables were placed by a set up team or rental company, ensure the crew followed the layout you supplied. Confirm and adjust placement based on the drawing. Sometimes layout drawings are to scale, some not.
As you are adjusting the position of tables, work in teams of two to place tables according to the drawing. Keep the table legs positioned in the same direction. Often you can use floor tiles, grout lines, or carpet pattern as a guide to line the tables up but keep a tape measure on hand just in case.
Work toward having:
• A decompression zone for when the guests first walk in the door
• Extra space at exits and service areas
• A six-foot space between tables. This is the distance for chairs around the tables and service access space. This can’t always be achieved because of posts, etc., so adjust as needed.
• Ensure table legs are locked
• Wobbles? Maybe the floor is uneven. Use cardboard shims for the legs
• Table listing to one side? Adjust or replace as needed.
• Staples? Remove as they can snag and tear linens, injure guests, and staff
Take a minute and walk around. A little more room here and there can make it easier for the guests and staff to move around.
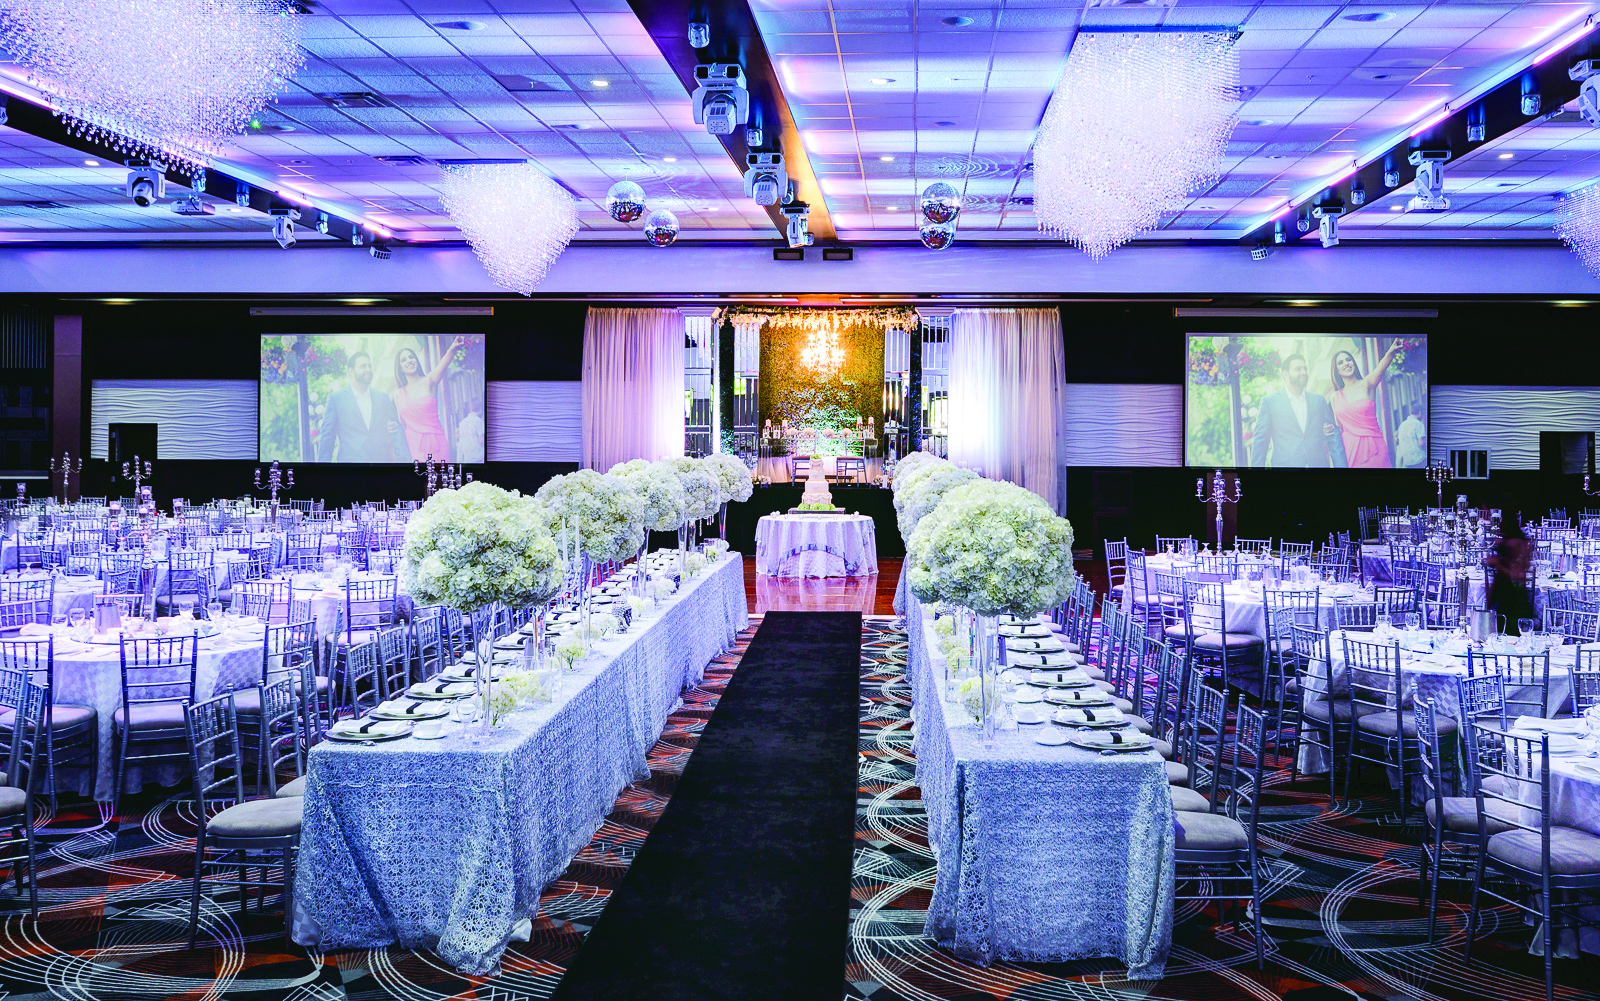
Photo courtesy of Raymons Decor, Copyright © 2014 Vick Sahota. All Rights Reserved.
Placing chairs
The natural inclination is to place chairs next, but you need to learn to set tables without chairs around them. You will set the area faster without chairs in the way. Place chairs only after all the components are on the table.
When chairs are placed look for:
• Stains on cushions and backs
• Wobbles: Sometimes the floor is uneven or a leg is bent
• Broken: Replace as needed
Table linens
Linens need to be hanging on a rack or placed on the worktable, as well as sorted by size and color.
Remove the plastic wrap and hanger, and place into the trashcan so the dining area is not littered with discarded plastic wrap and hangers. Hang four to six linens over your arm, and distribute to the tables in batches.
Position the creases (folds) to flow in the same direction. This directional flow is neater, consistent, and usually parallel with the length of the room or toward the front. Use what looks best and be consistent.
Ensure that fabric drapes evenly around the tables. Sometimes linens are labeled incorrectly—a 90” round when a 120” was ordered. Older linens may have shrunk.
Look for discoloration, stains, holes, tears. Adjust or replace as needed.
I once asked a higher end linen supplier to sharpen their pencil on prices. Their response was, “No way.” However, they offered to place the linens on the tables after delivering them to the venue. I also received a price concession from the supplier to fold napkins prior to delivery. Another timesaver.
Steaming out the creases and folds
Steaming out creases is generally reserved for higher end events. Break out the portable steamers (bring two) and remove the creases in the table linens before you place them on the tables. Have plenty of distilled water, long heavy-duty extension cords, and a steaming iron(s).
Set up a horizontal clean aluminum or stainless steel pole, eight foot long by two-inch diameter. Drape the table linen over the pole. Apply steam to the creases starting at the bottom (outside edge) and working up (inward).
Often after placing the linens on tables, a touch up may be required. That’s when the portable steamer or the iron will come in handy.
In the next issue of Catersource (February 2016)
In part three; “Escaping Flatland,” we’ll discuss the efficient table setting process and techniques to save time—the finer points of a fast and consistent placement. Think NASCAR Rainbow Warriors meets fine dining. See you then!
Roy Porter is the Activities Director for Los Alamitos, CA based Engage Works, an off-premises catering-focused consultancy specializing in FOH, table, and bar service.